What Are Microgreens?
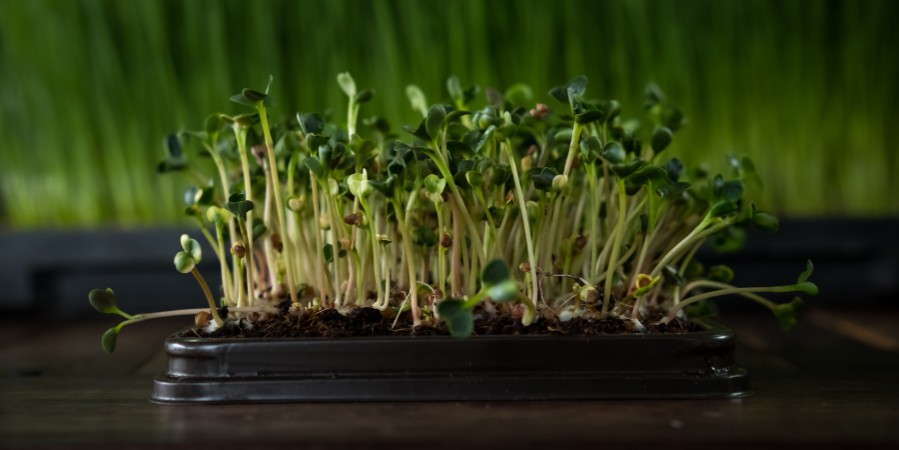
Microgreens are seedlings of plants; sprouts with their first leaves. Usually grown indoors, they flourish in everything from trays on home kitchen windowsills to farm greenhouses.
Microgreens can be added to salads, sandwiches, smoothies, soups, and teas; or you can borrow a technique from 5-star chefs and sprinkle them on anything as a garnish, even dessert! They can also be served alone, if you don’t want to cook and like chewing fun, fresh textures.
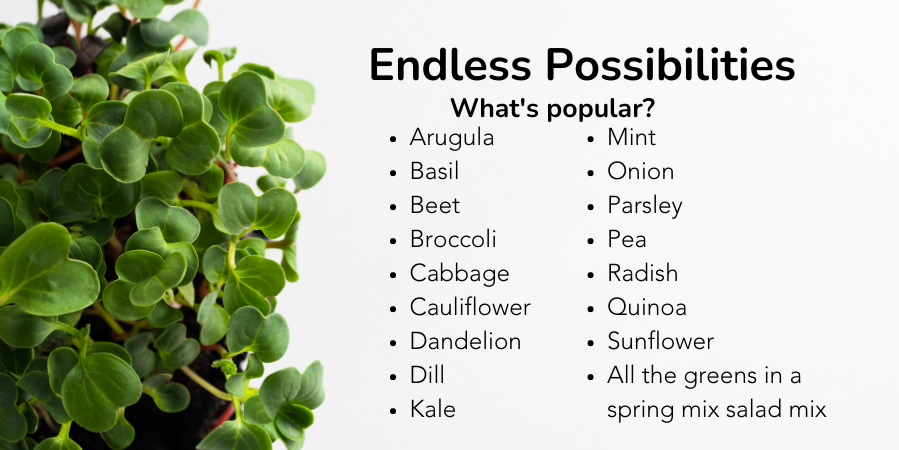
Almost any plant—vegetable, lettuce, herb, fruit, bean, or grain—can be grown and eaten as a microgreen. They're health food favorites, carrying up to 60x the nutrients found in their fully-grown counterparts. Those tiny shoots come from seeds packed with enough energy to firmly grasp the ground and shoot for the sun, after all!
The Basic Run-Down
Growing microgreens is easy. Below is what you need to know for microgreen growing, no matter what method you choose.
Water
One of the most important things microgreens need is water. From when they're seeds to the moment they're harvested, water is what they need most.
If you decide to grow them in dirt, the dirt should be watered 2-3 times daily, until it feels like a damp sponge that the water has been squeezed out of.
Light
All plants need light to grow. Microgreens are no different! Sunlight from a window, balcony, or porch should be plenty. However, it may not be in the winter, or if your windows don’t get enough sun.
Microgreens need 4-8 hours of light, from the sun or artificial light. This is where LED lights come in handy!
Tips for using LED lights indoors:
- Use flat lights made for plants, not bulbs, for maximum intensity of light on the plants and to conserve energy.
- A good light size to growing area is one 4-inch light to every 11x20 inch growing area. However, lights may have different intensities, so always read their product descriptions!
- If seeds are covered, the light should be 2 inches above them until they germinate.
- After germination, the light should be around 1 inch above the seedlings until harvest.
Germination
All microgreens must be grown from seeds, so they need to be germinated! Germination is when the seeds get the signal to grow after they’ve become moist and a little warm. Once a seed is germinated, a green sprout appears!
Tips for successful germination:
- Keep the seeds moist, but not wet. Too much water can drown them!
- The seeds should be in temperatures between 68-86° F for them to get the signal to germinate. Otherwise, it’s best to keep seeds cold to keep them fresh. To plants, warm means awake and cold means asleep!
- If the seeds aren’t covered in dirt, keep them in a dark area under a ventilated lid until they germinate to help keep them moist and warm.
- For large seeds like broccoli seeds, or ones with thick shells like sunflowers, they’ll need to be soaked before germination can start. Soak them for 8-12 hours, draining the water and replacing it 1-2 times so the seeds can get some oxygen. Then, treat them like any other seed!
Sprouting
Once the seeds germinate, they’ll sprout into a microgreen. Once they’ve reached around an inch tall, put them in light and water them 1-2 times daily until harvest.
Tip: If your microgreens are growing sideways towards your window, rotate the container’s position a few times every day to keep them straight.
Harvesting
Microgreens should be harvested when they are around 3-4 inches high, or when the first two leaves have unfurled. Use scissors or a sharp knife to cut them at the base near the roots or dirt they grow in.
However, they can also be left until they grow 3-4 leaves, and the top 2 leaves can be continually harvested.
Storage
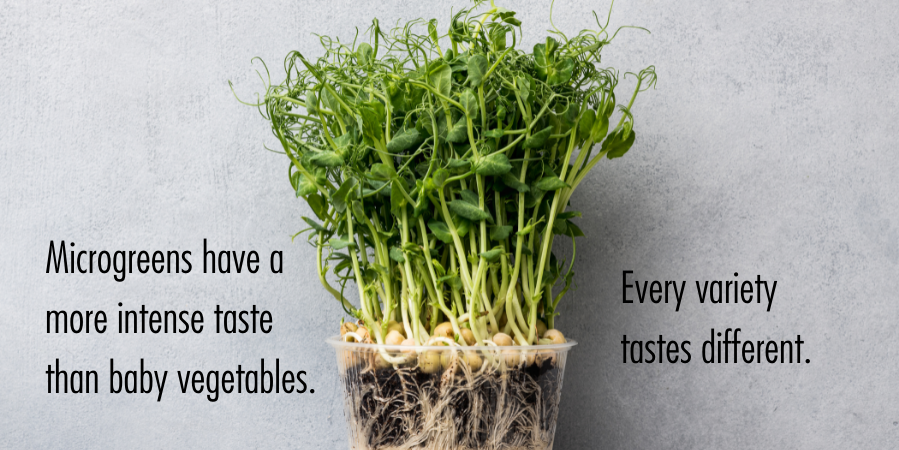
While eating microgreens fresh is best, they can also be stored for later.
Storage tips:
- Never wash microgreens before storing. This spoils them quickly!
- Keep them in a dry, sealed container, in a dark area of your refrigerator.
- Microgreens are delicate, with a short shelf life! They can only be stored up to 2-3 days after harvest.
The Different Ways to Grow Microgreens
There is a variety of ways to grow microgreens. Try out a few, or just what looks best!
Potting Soil
For this method, any container used needs holes in the bottom for drainage and something to catch excess water under it, like a plate. Shallow containers are best, since soil only needs to be around 1.5 inches deep. A microgreen tray, plant nursery tray, and used food container with holes in the bottom like a container that fresh tomatoes are sold in or takeout dish all work.
After the container is ready, seeds can be sprinkled on top of the soil, lightly covered in dirt, or covered in dirt and patted down, depending on your preference. No matter which of these methods you choose, always remember to mist regularly for moisture!
Cheesecloth
If you don’t want to use dirt, you can grow microgreens in water. Fill a microgreen tray or similar container with enriched water like compost water. If the seeds are large, put a piece of cheesecloth or two and a ventilated lid over the seeds. If the seeds are small enough to fall through the holes of the container, put a piece of cheesecloth below them.
Regularly mist all the cheesecloth with compost water, treating it like soil. The cheesecloth should also remain damp like a squeezed sponge! Also, water the bottom of the tray regularly, so the water level stays near the strainer-looking portion of the tray. Remove the cheesecloth from the top of the seeds when they germinate.
How to make compost water:
- Use a ratio of 1 cup of compost for every 4 cups of water.
- Tie the compost into two layers of cheesecloth.
- Soak in warm water, preferably in sunlight, for up to 8 hours.
- It's best made the day before using. However, it has a short shelf life, so use it quickly!
Coconut Coir
Coconut coir is fiber from the husk, or shell, of a coconut. It can be put in a tray or any other container with holes in the bottom suspended in water to keep it moist.
Coir needs to be treated like soil, except that it needs added nutrients. You’ll need to use compost water or enriched water again instead of regular water to give the microgreens extra nutrients.
However, be careful! Water levels should not go above the bottom of the coir to prevent the seeds from drowning.
Coir tips:
- Brown coir is best for growing with water.
- Always use organic coir. Non-organic is often overly treated to extend its shelf life.
- Check if the coir has been processed with fresh or salt water. Salt water processed coir is not suitable for gardening, due to its salt content.
- Water the coir from the bottom, not the top, to keep seeds near the surface.
- Coir does not usually need misting, but if it feels dry on top, go for it!
Happy farming and stay safe!
Sources:
Samuolienė, G., Brazaitytė, A., Viršilė, A., Jankauskienė, J., Sakalauskienė, S., & Duchovskis, P. (2016). Red Light-Dose or Wavelength-Dependent Photoresponse of Antioxidants in Herb Microgreens. PloS One, 11(9), e0163405. https://doi-org.ltc-web2.gotoltc.edu/10.1371/journal.pone.0163405
https://www.treehugger.com/how-grow-microgreens-home-4863548
https://herbsathome.co/how-to-grow-microgreens-at-home/
https://coir.com/utility/how-to-make-coconut-coir-the-manufacturing-process/
https://www.epicgardening.com/coconut-coir/
https://extension.psu.edu/the-abcs-of-microgreens
https://extension.psu.edu/a-step-by-step-guide-for-growing-microgreens-at-home
https://www.thishonestfood.com/grow-microgreens-indoors-without-soil/#:~:text=Place%20each%20piece%20of%20cheesecloth%20into%20your%20container,seeds.%20Lightly%20spray%20the%20seeds%20with%20compost%20tea.


